

In this blog, you will learn how to connect your PostgreSQL to pgAdmin, which both run on docker.
Installation of Software
To get started first, we have to install Docker.
Follow this blog https://docs.docker.com/get-docker/ to install Docker.
Download Docker Images
Let us pull the official docker images of PostgreSQL and pgAdmin.
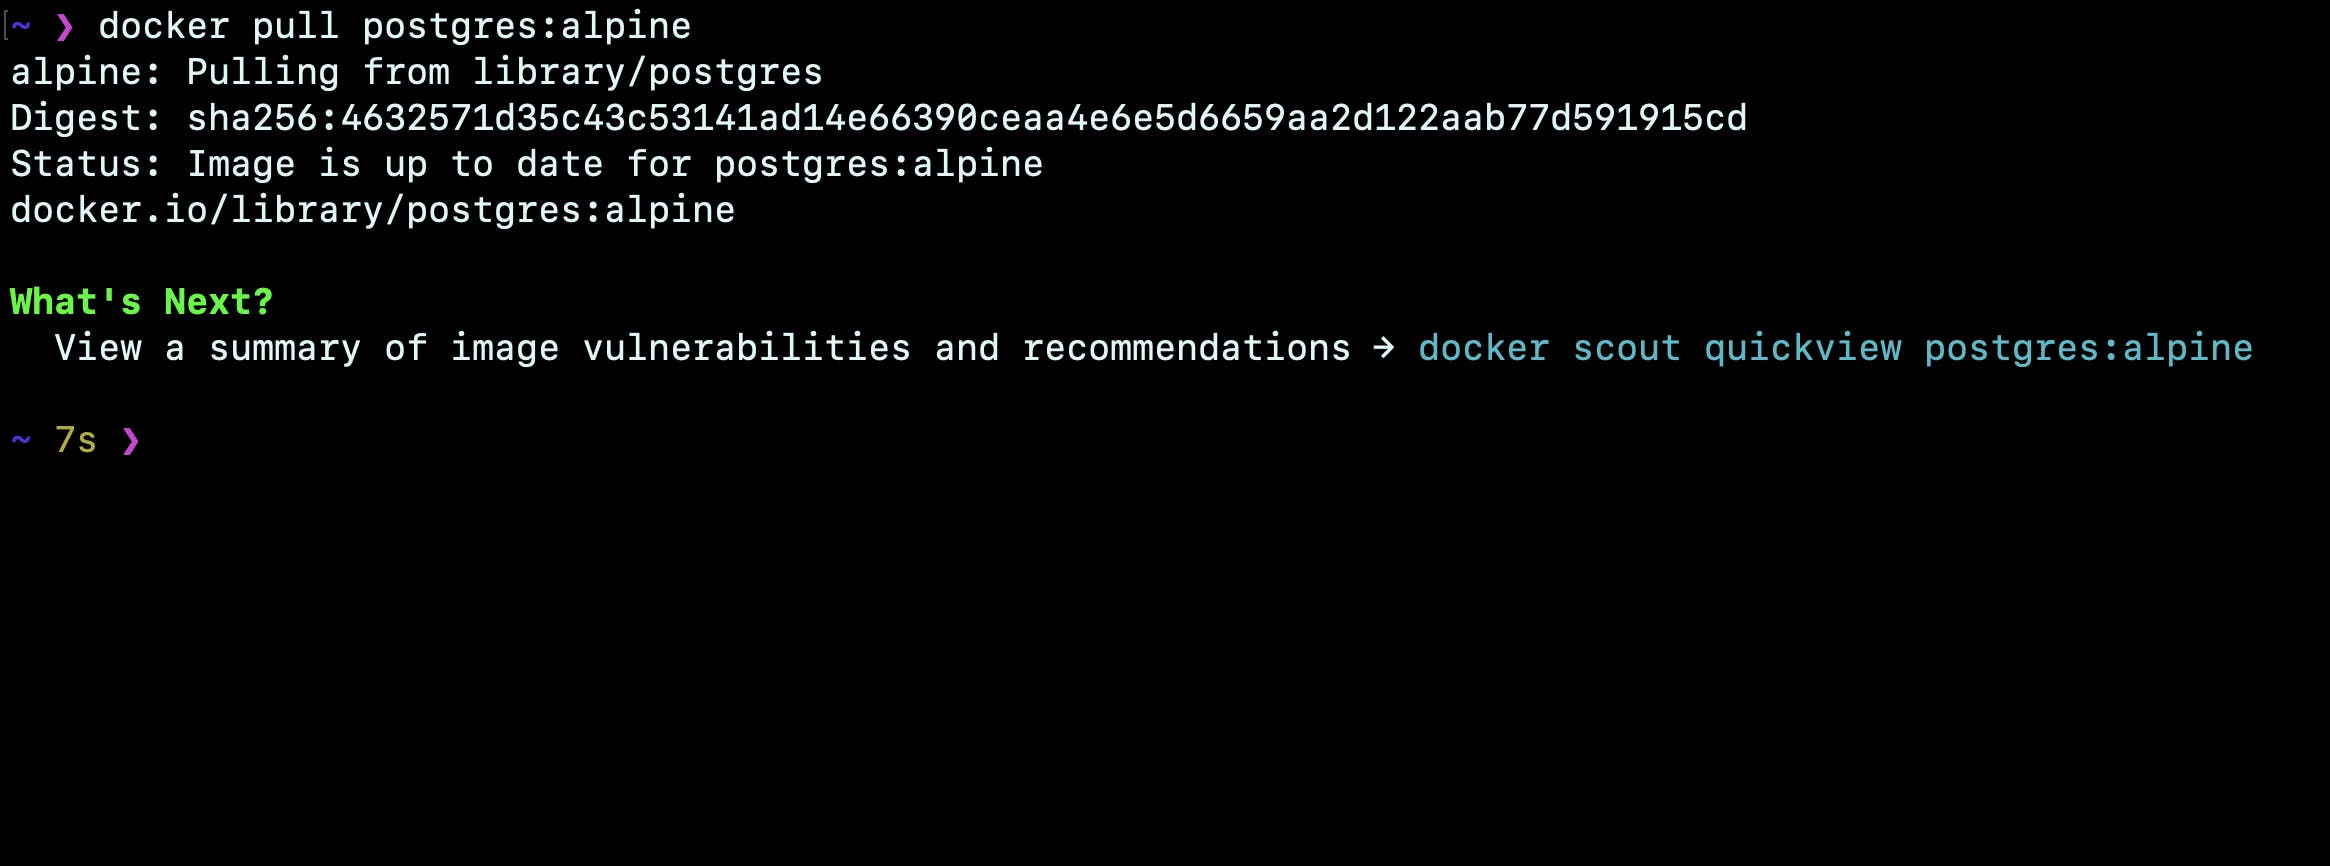
PostgreSQL
docker pull postgres:alpineI will be using the Alpine version (smaller image) for this blog.
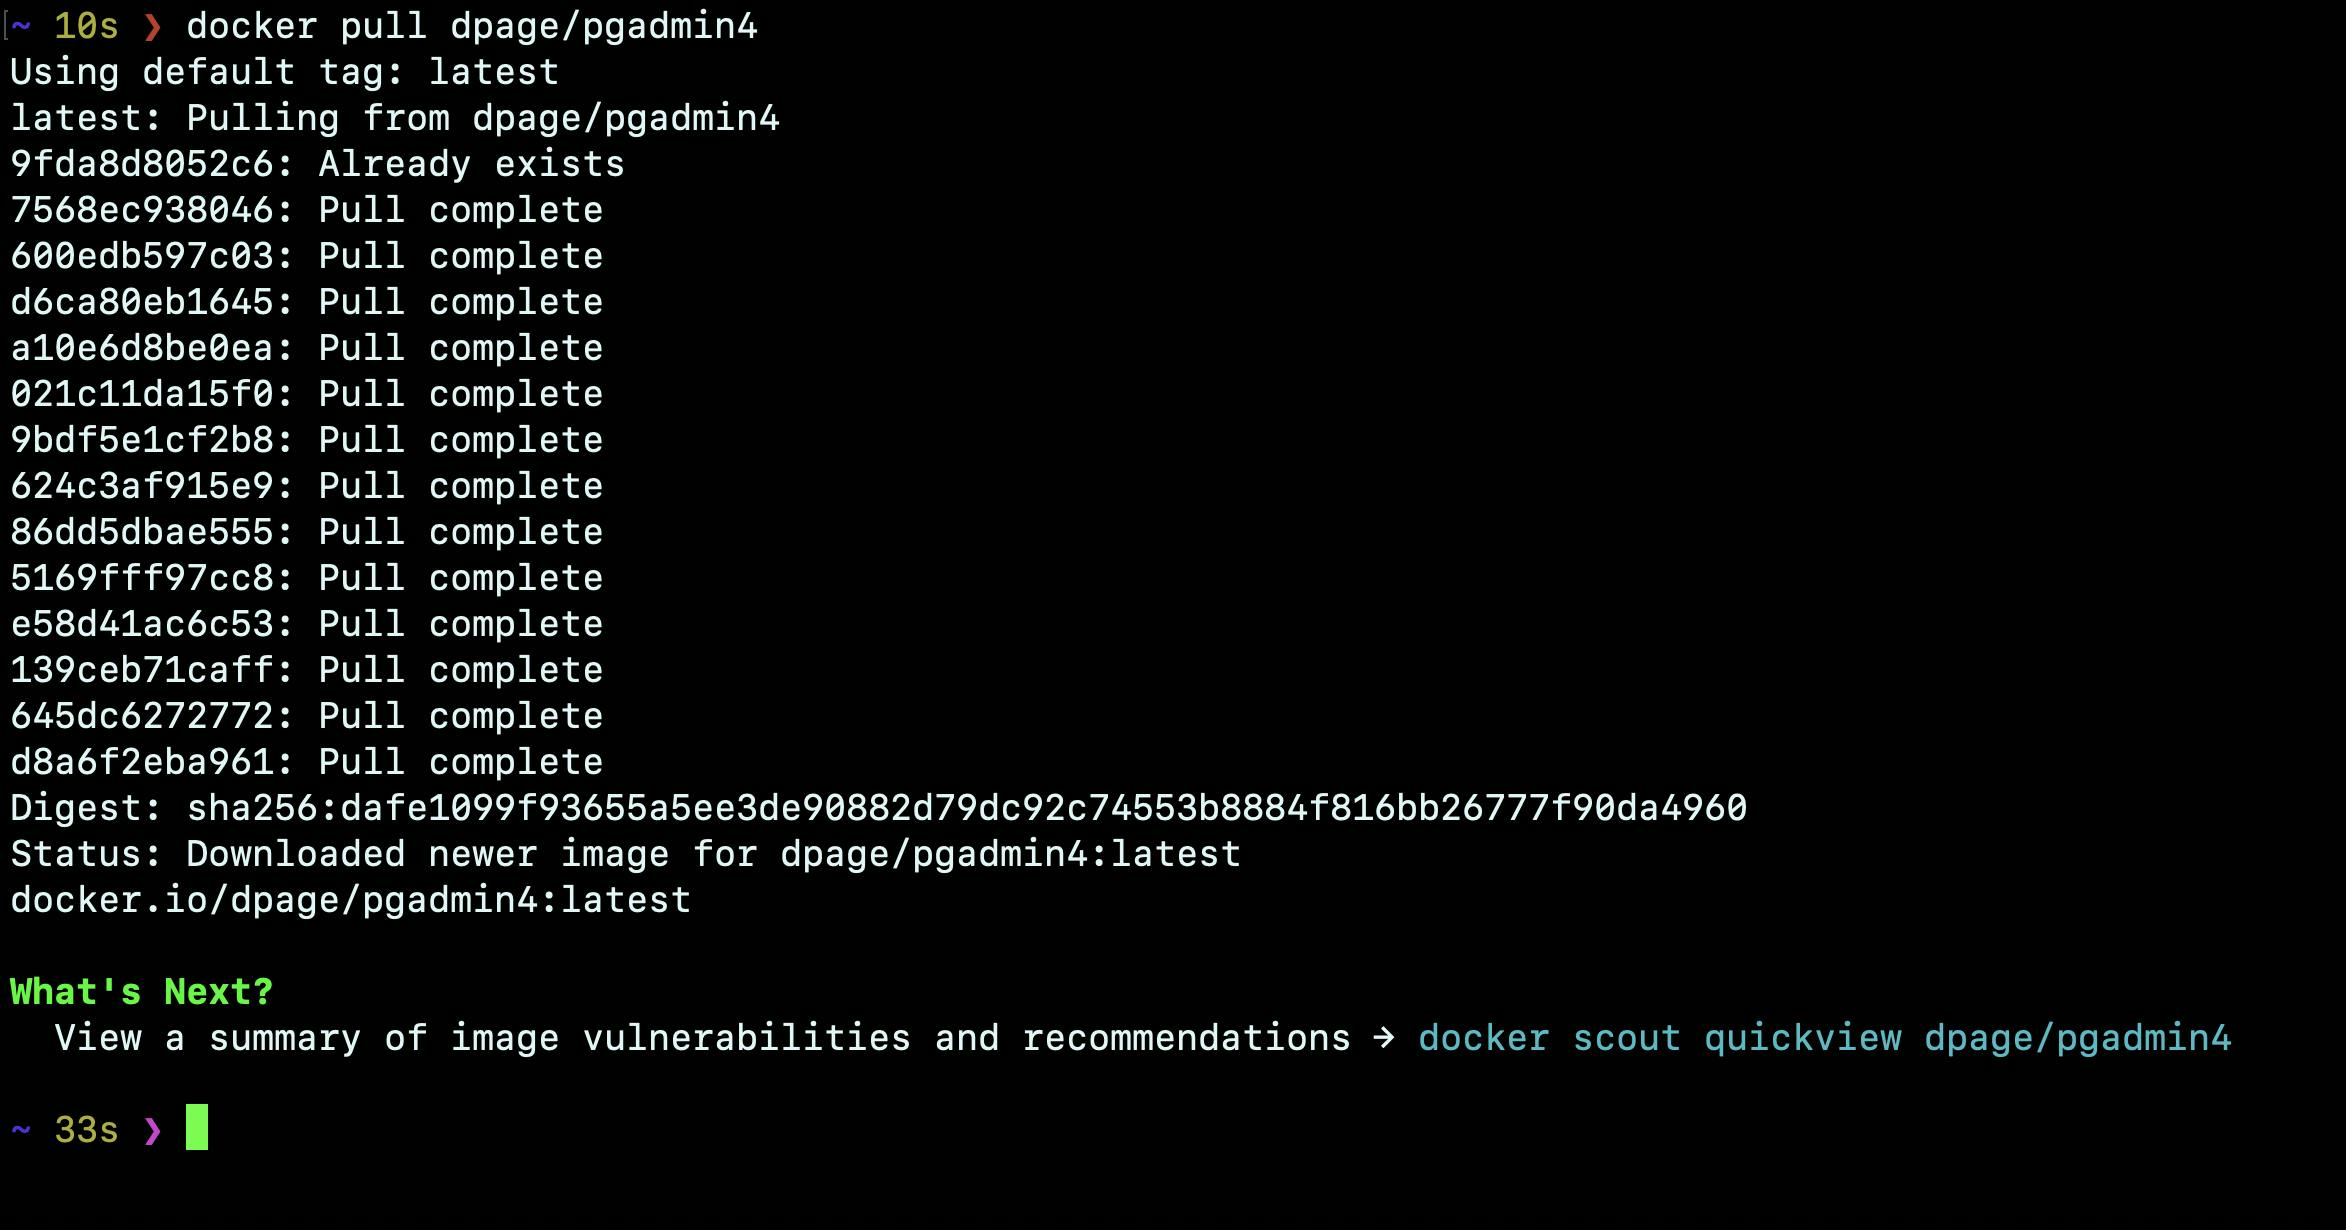
PgAdmin
docker pull dpage/pgadmin4I have both docker images already downloaded on my machine.
Starting Containers
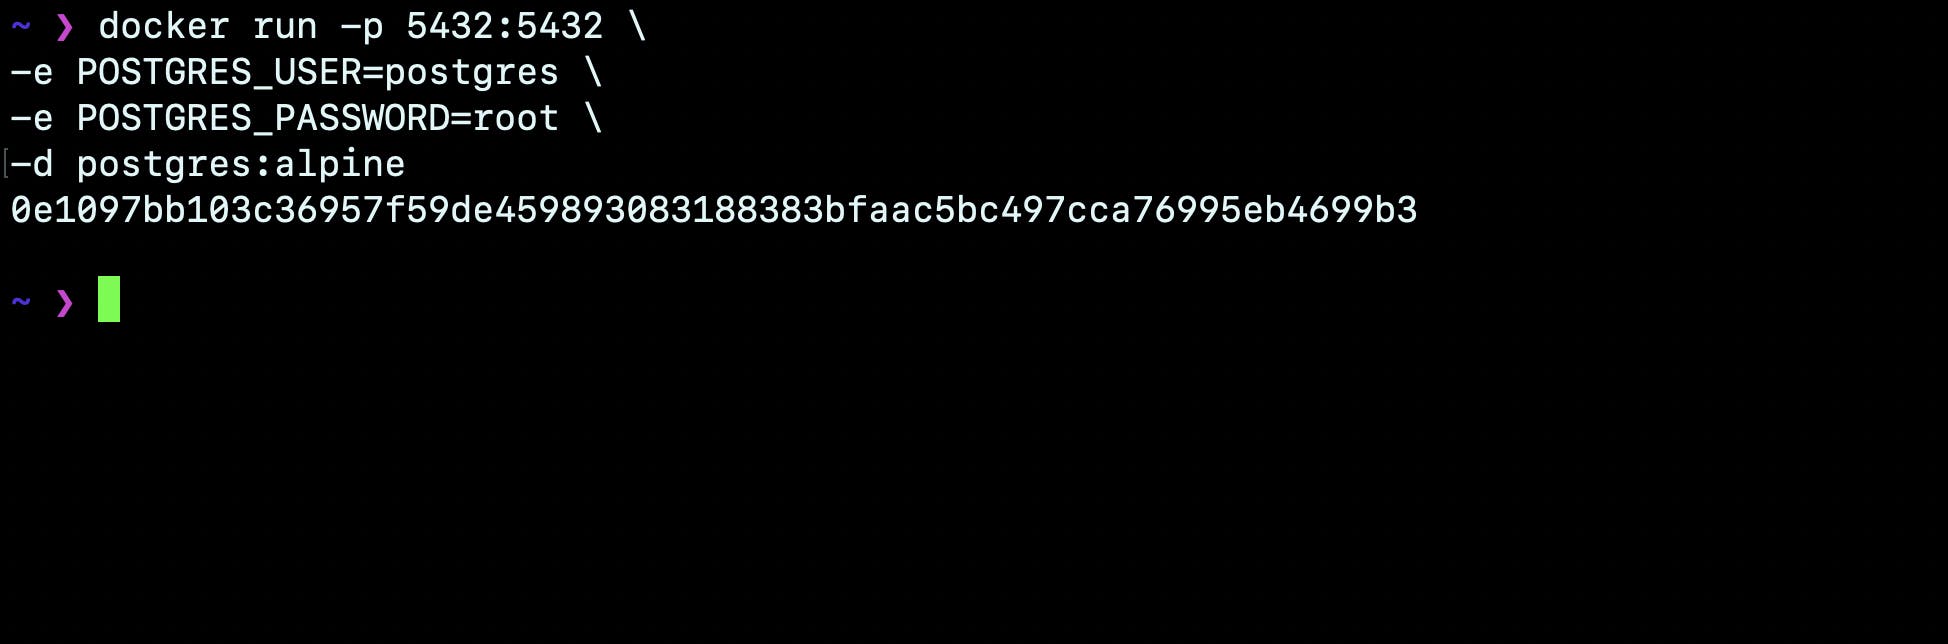
Let's first start our PostgreSQL container by running the following command.
  docker run -p 5432:5432 \
  -e POSTGRES_USER=postgres \
  -e POSTGRES_PASSWORD=root \
  -d postgres:alpine
The above command runs our container in a detached mode.
Using the command
docker ps -ato check our container status.
Starting the pgAdmin container using the below command
  docker run -p 80:80 \
      -e 'PGADMIN_DEFAULT_EMAIL=sbharath35@gmail.com' \
      -e 'PGADMIN_DEFAULT_PASSWORD=1234' \
      -d dpage/pgadmin4
To see the containers running use the following command
docker ps -a
Our container's Postgres is running on port 5432 and pgAdmin is running on port 80.
Connecting Postgres to pgAdmin
- Once both containers are up and running, open your browser and open http://localhost:8080/ , enter your details, and log in.

- Click on Servers -> Register ->Server and a new dialog box will open.
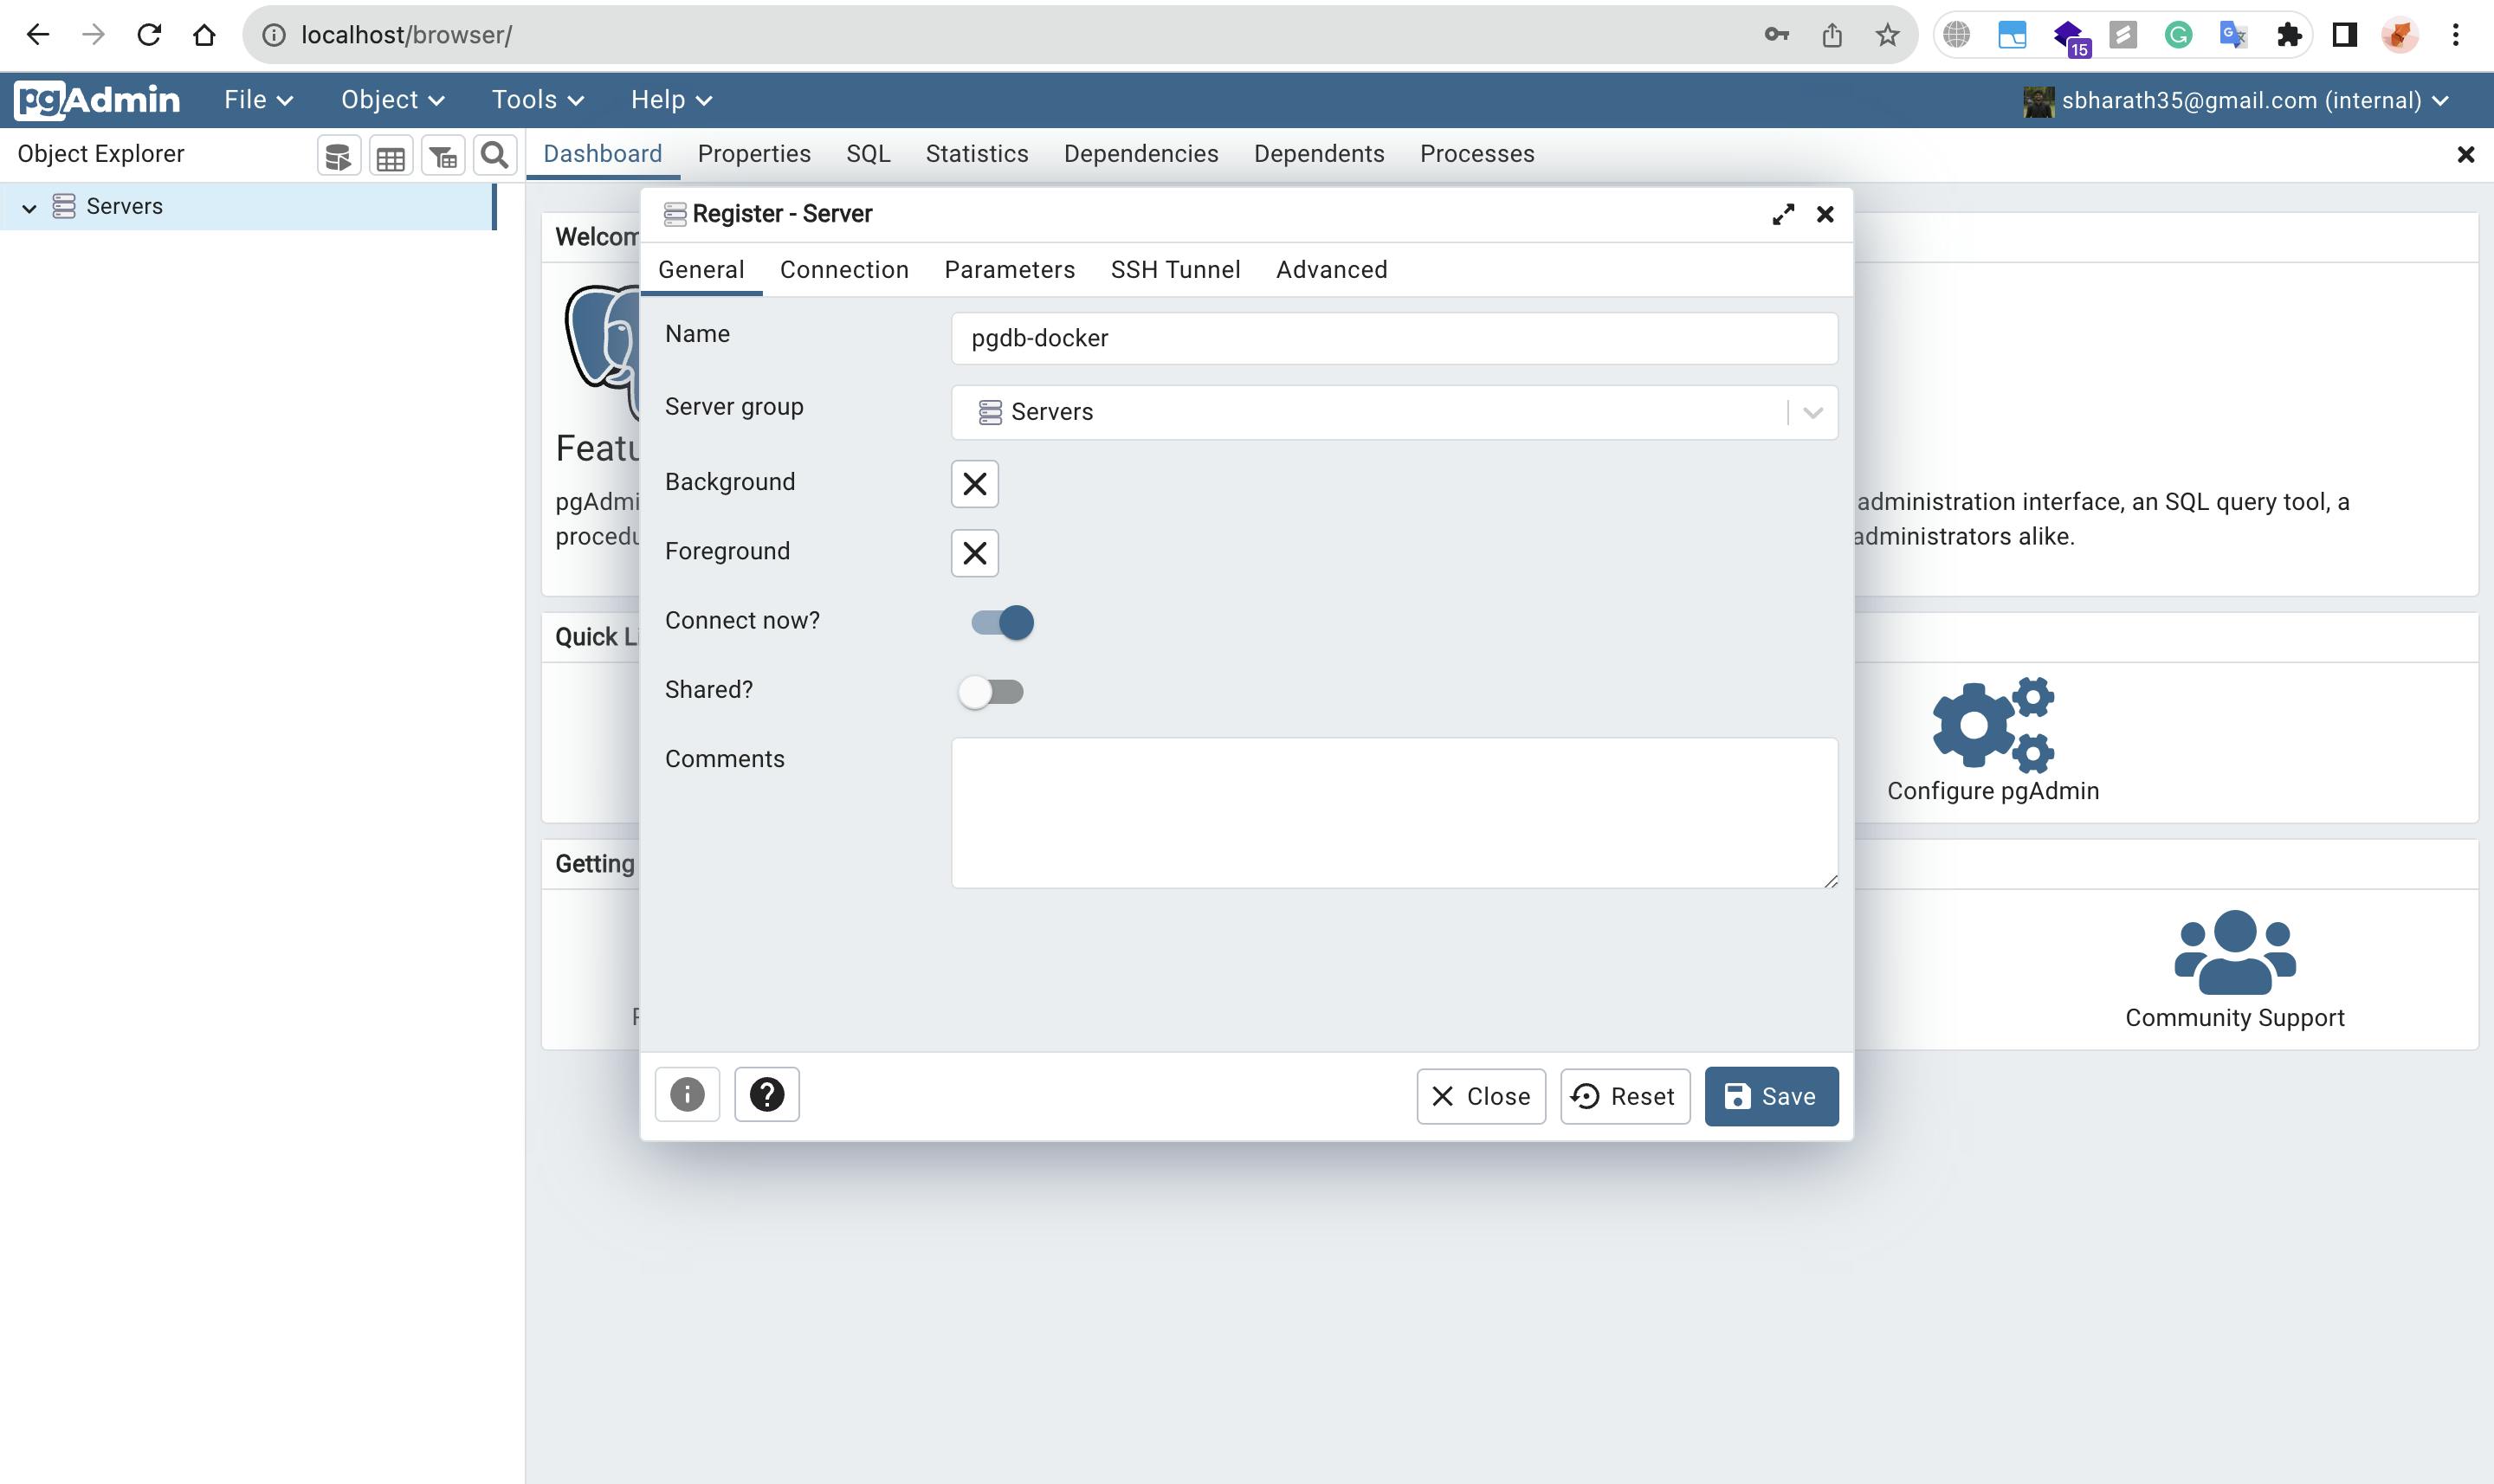
- Give a name and click on Connection to add additional parameters.

As our Postgres database is running inside a docker, we have to use "host.docker.internal" instead of "localhost". If you want to connect to a local Postgres database that is running on a host machine, use localhost.
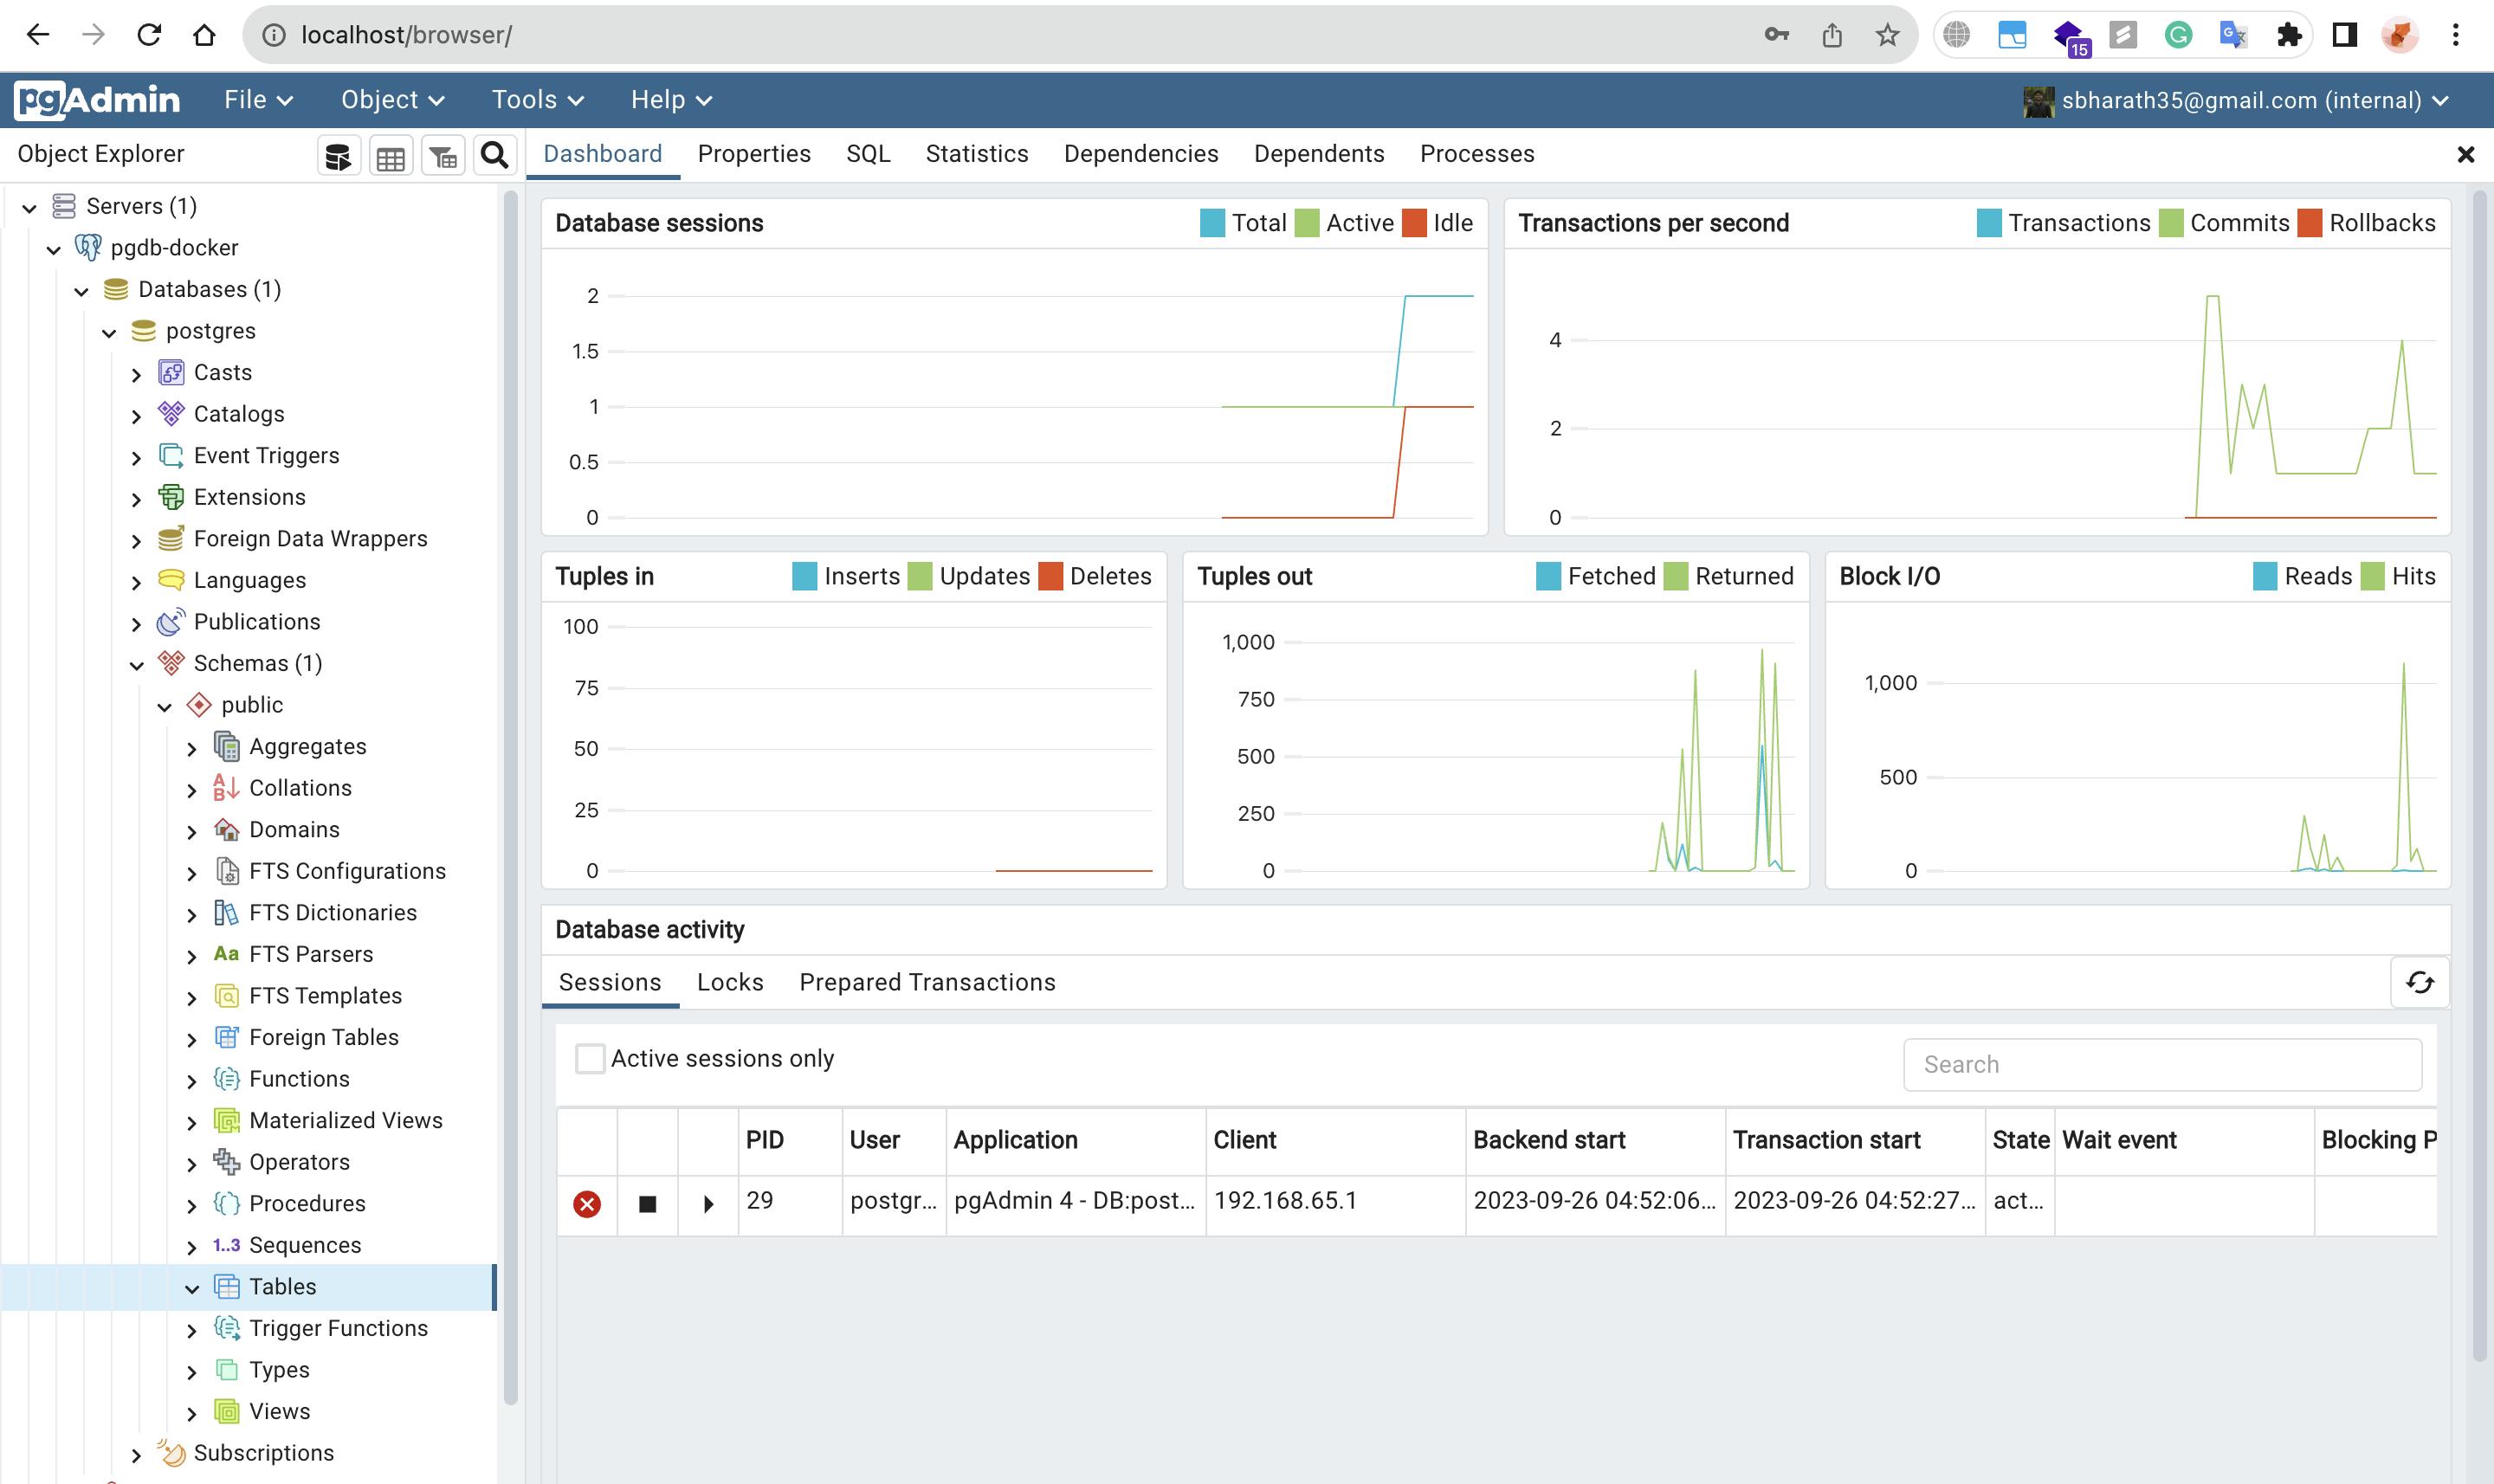
Use the port number, username, and password we mentioned while running the Postgres image and click on save. If all goes well, you will see the below dashboard.
This is how you use pgAdmin without downloading any software. Hope you liked this blog 😀, see you soon, till then you can follow me on @twitter & @github